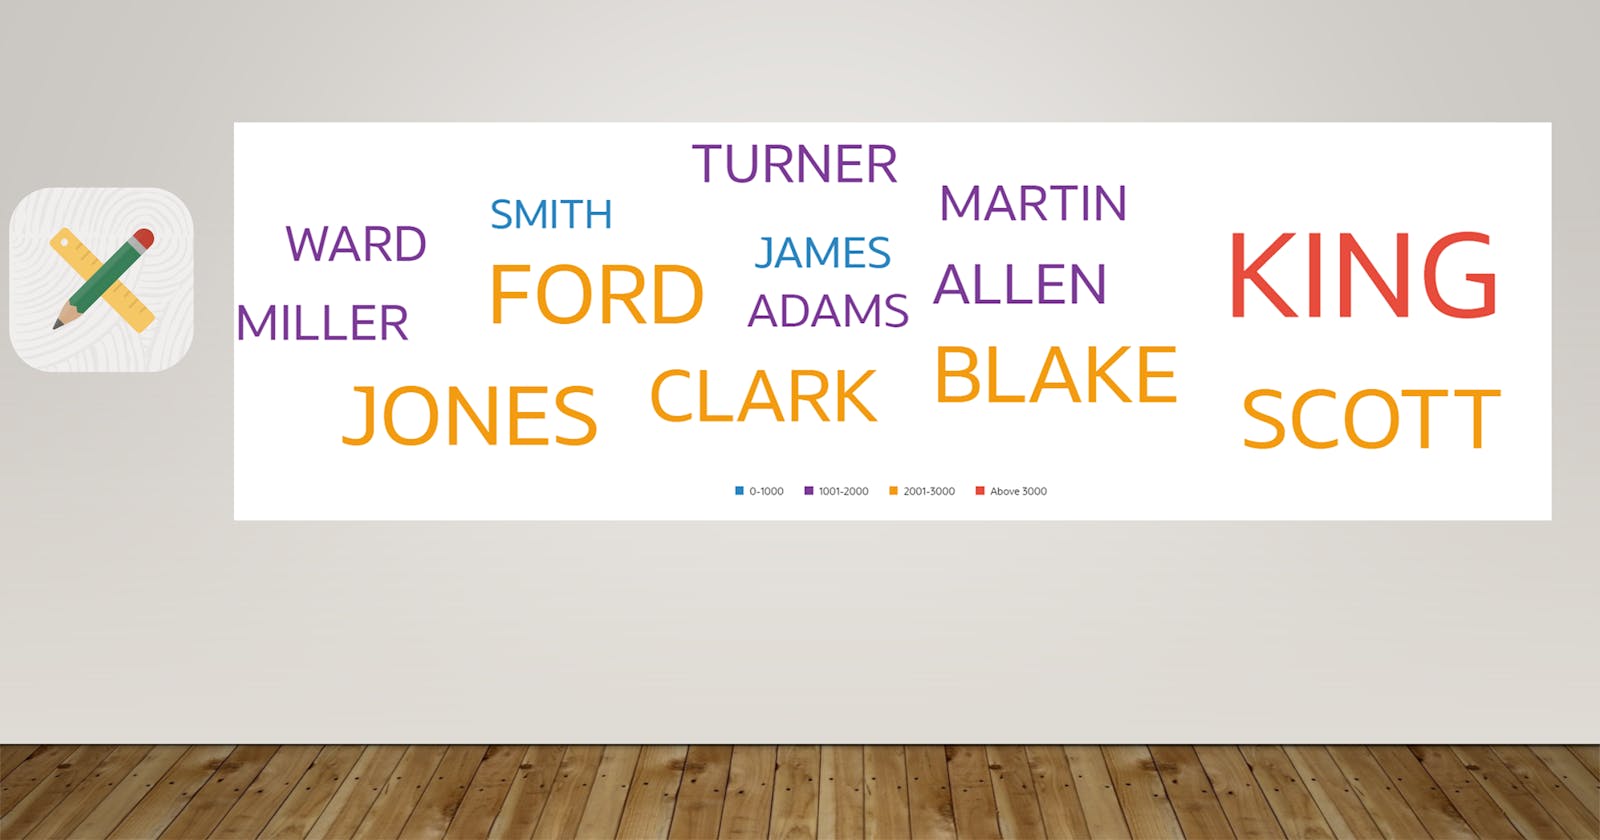
Oracle JET tag cloud component to visualize data using new Dynamic Content Region (Part-2)
Learn how to filter data , refresh region and provide interaction to legend.


In this part, you will learn the below functionality to provide a more intuitive experience to end users.
Add Popup LOV to filter data with multiple selections
Add Event to filter Tag Cloud using Legend items
Add Popup LOV to filter data with multiple selections
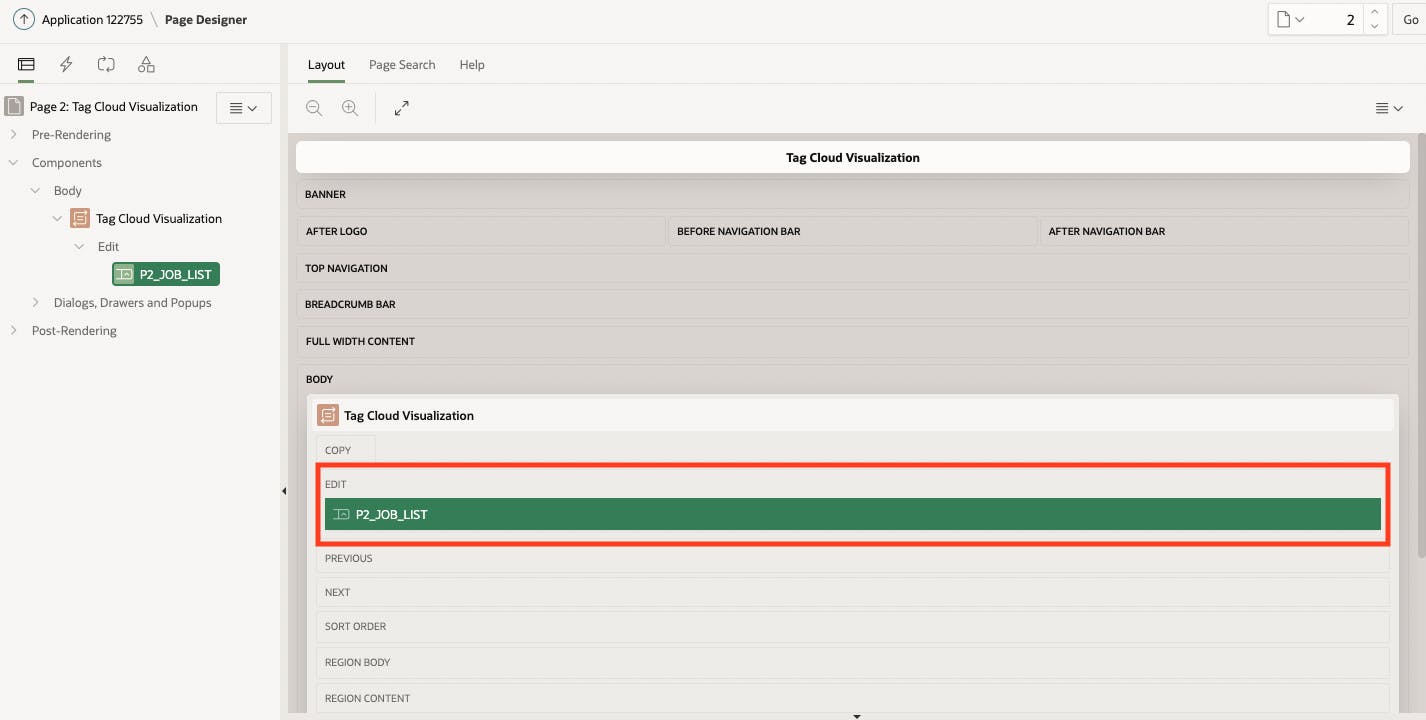
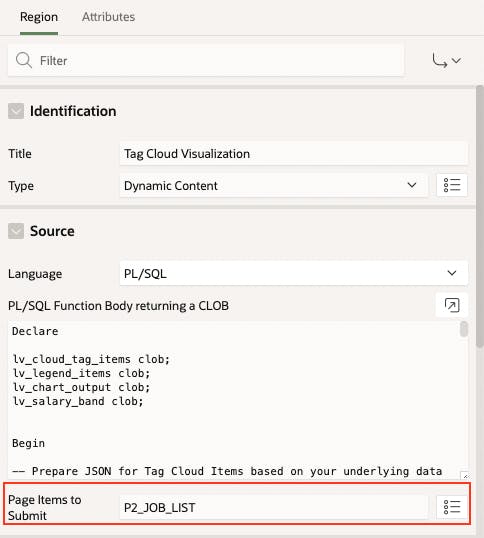
In a previous post, I used page item "P2_JOB_LIST" in SQL Query. Now, this page item will be added as Pop LOV at top of the region to filter data as below:

Add Dynamic Action to Filter TAG Cloud Items
After placing Popup LOV in the region, you can now add dynamic action and set page item in the region attribute. Here, I assume that you know how dynamic action works.
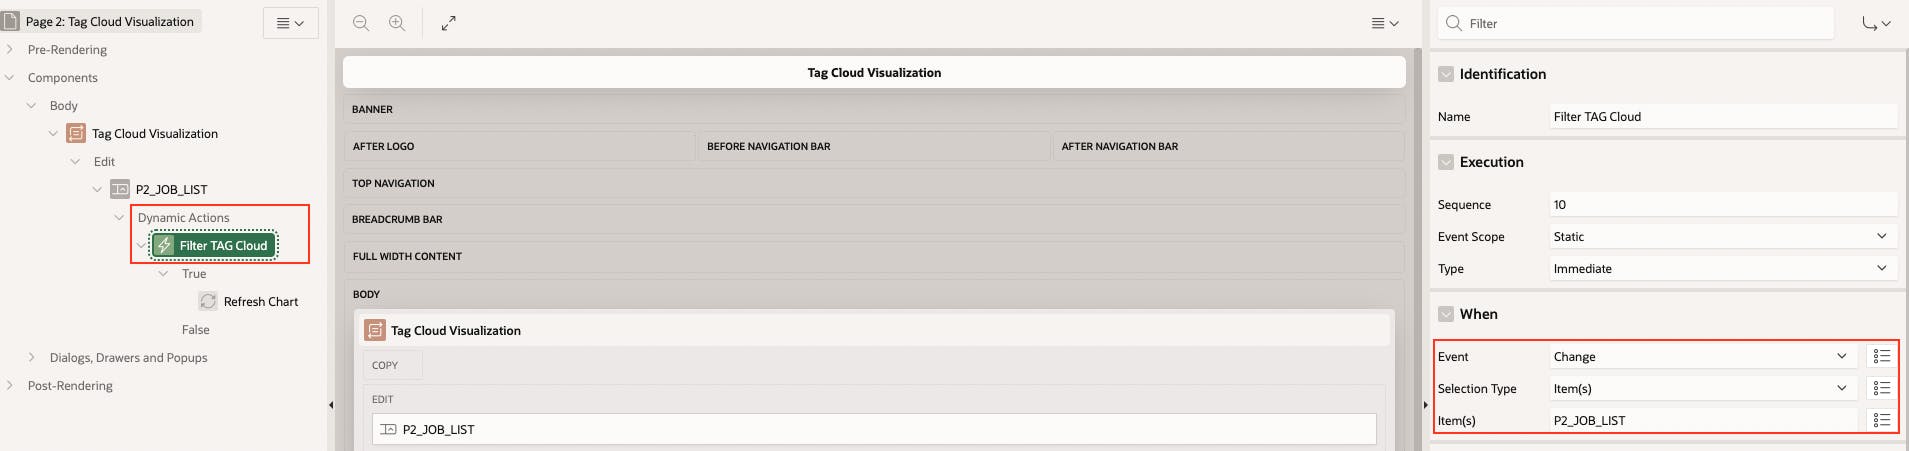
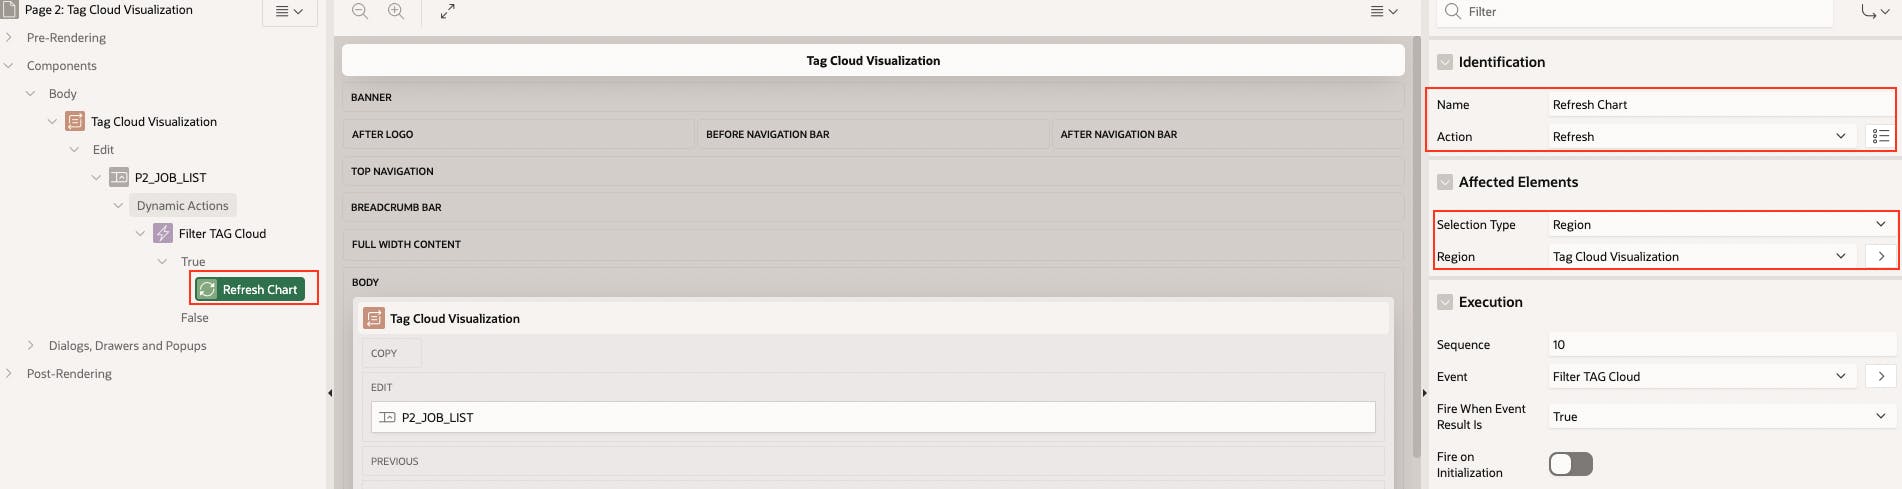
To make the filter work, you need to set the page item "P2_JOB_LIST" as shown in the below screenshot. By setting the page item, you can refresh the region which was not possible declaratively in the legacy dynamic content region.
Add Dynamic Action to process the selection event of Legend
To capture the selection event and process data, you will have to handle the event of the respective JET component. If you want to learn more about different JET components and their functionality. I will recommend visiting the Oracle JET Cookbook application with sample codes.
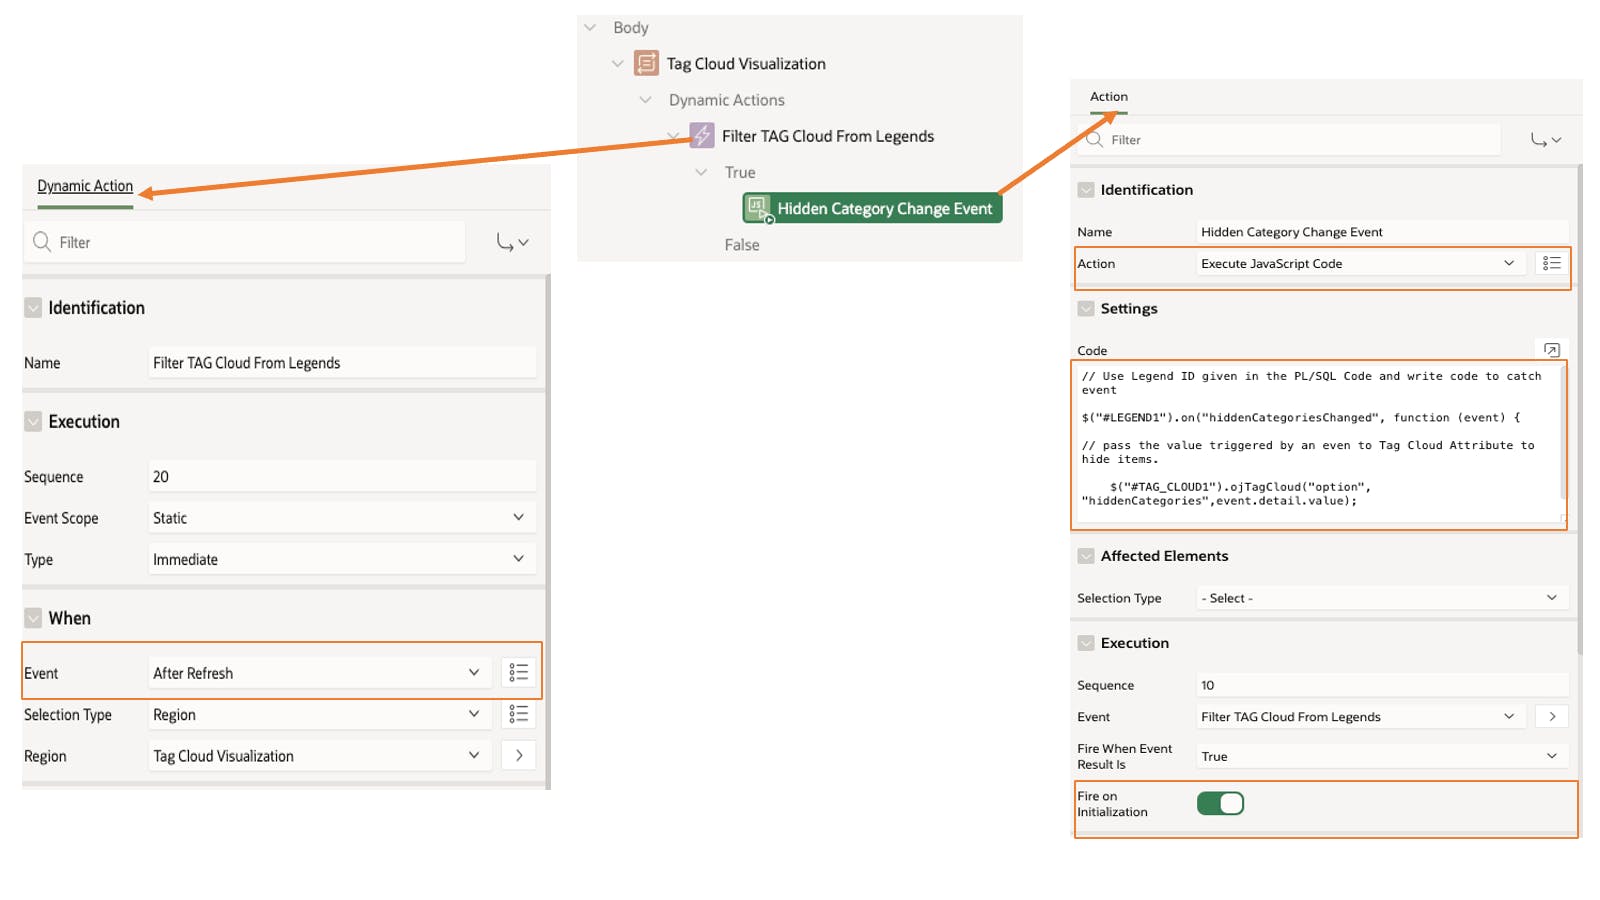
You need to use the below code to handle the event and filter Tag cloud items as per the selection of legends.
// Use Legend ID given in the PL/SQL Code and write code to catch event
$("#LEGEND1").on("hiddenCategoriesChanged", function (event) {

// pass the value triggered by an event to Tag Cloud Attribute to hide items.
$("#TAG_CLOUD1").ojTagCloud("option","hiddenCategories",
event.detail.value);});
Above code should be used with the "After Refresh" event and with the "Execute Javascript Code" action. See the below screenshot with highlighted sections for reference and use.
Now, you should be able to see the following result and this concludes our second part of the series.

Summary
Till now, you have learned to integrate the JET Tag cloud component and provide interactive functionality to the end user. In the next part of this series, you will learn how to provide drill-down functionality to individual tag cloud items. I hope you have enjoyed the blog content and please do provide your feedback.